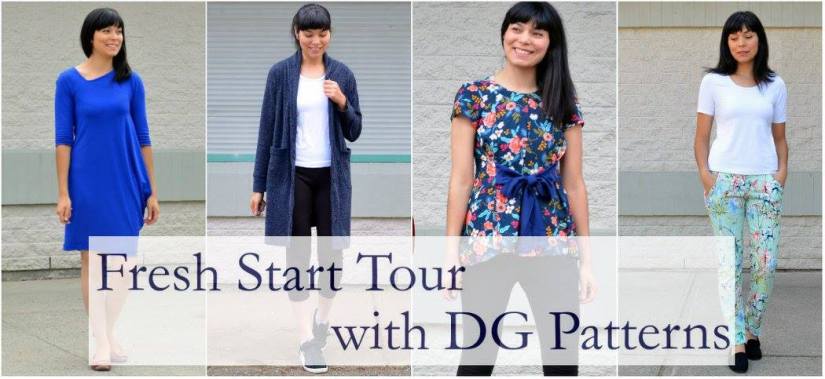
Welcome to Day 4 of the Fresh Start Blog Tour with DG Patterns*! It’s that time of year to make a fresh start: new habits, new wardrobes, and new things. Every day this week, my fellow bloggers and I will be sharing how we’re getting a fresh start with DG Patterns. There’s also a giveaway sponsored by Southern Belle Fabrics, so be sure to enter that!
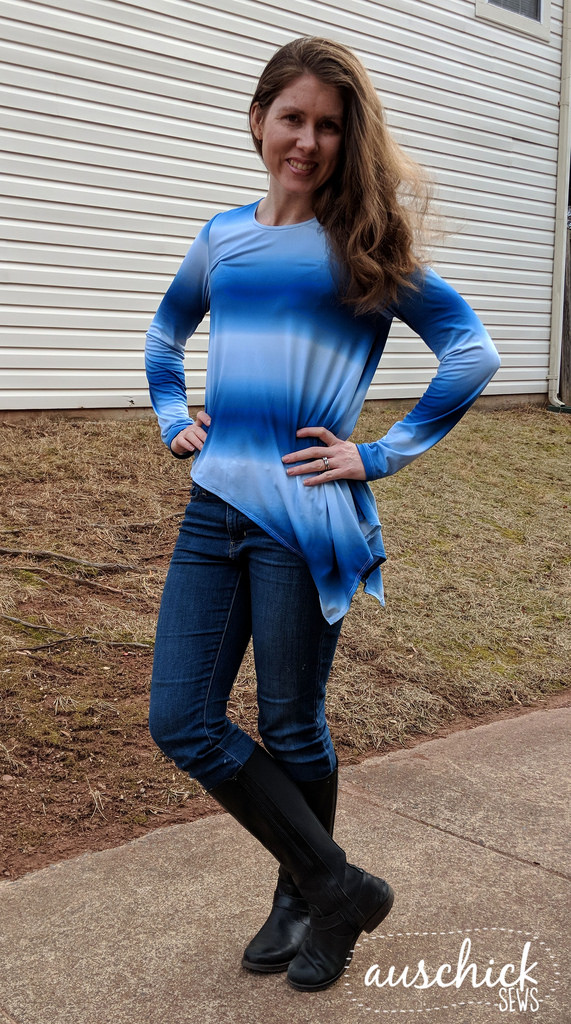
Since DG Patterns* is a new to me designer, I decided to try something that seemed interesting but also fairly easy. To fit that bill, I went with the Marino Top, Tunic & Dress*. This pattern advertises an asymmetrical design with 3 sleeve length options, and can be made from woven or knit.
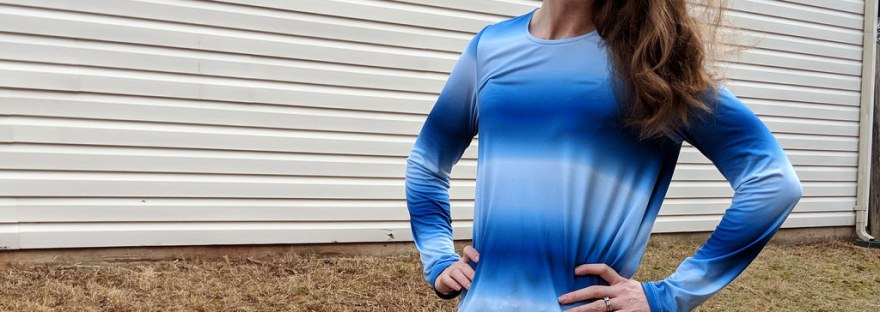
I’m also participating in the 52 Week Sewing Challenge this year, and the week 2 challenge (which is when I made this) was to make something with your most recently acquired fabric. My most recent fabric purchase was flannel from JoAnn’s Black Friday sale but since I didn’t have time to make PJ’s last week, I chose to use the *next* most recent fabric, which was a couple of yards of custom ombre double brushed poly from Simply By Ti.
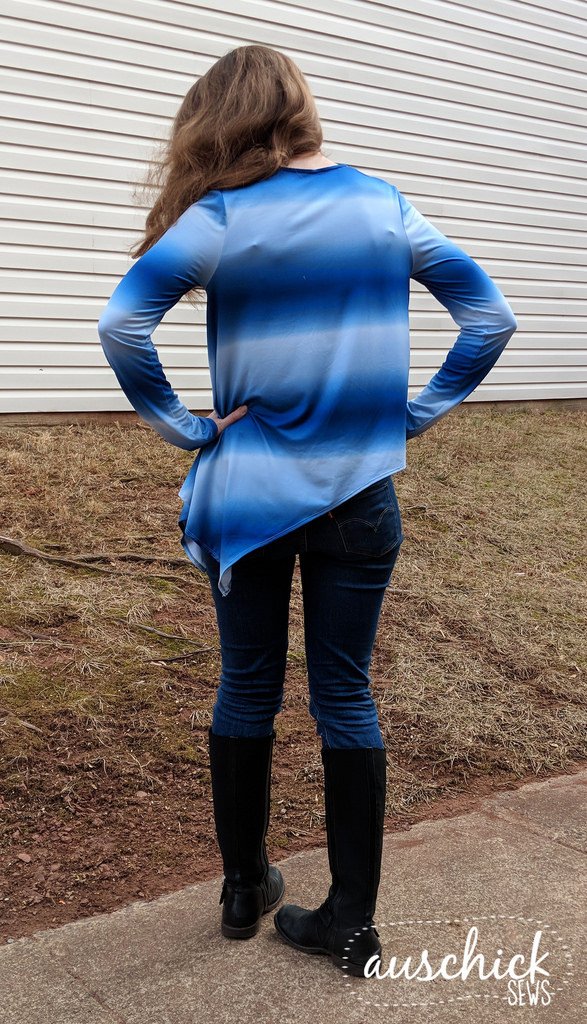
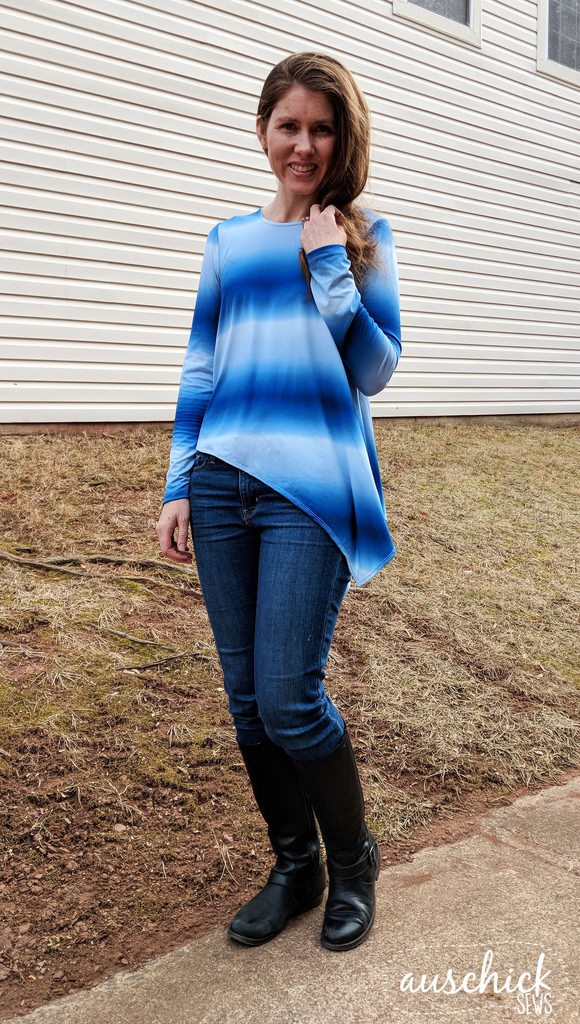
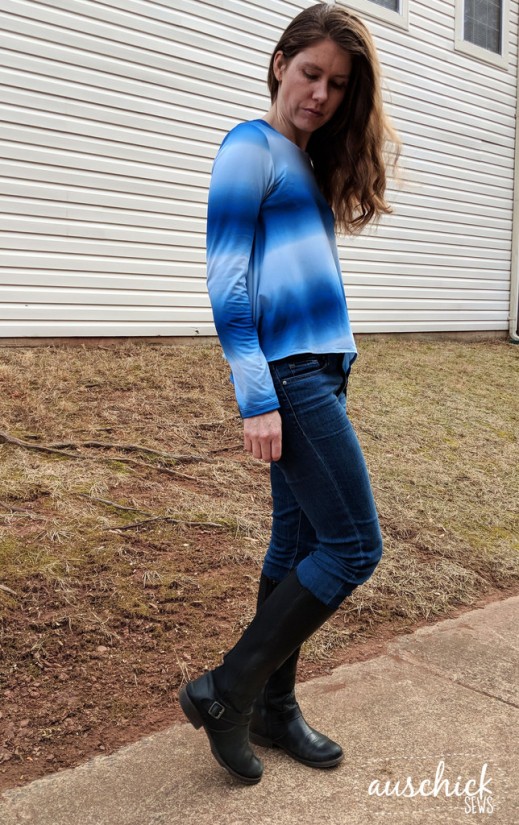
My initial plan for this fabric was to make a maxi skirt, and to be honest, I regret not doing that now because I think the asymmetrical design plus horizontal stripes don’t really work together. In hindsight, making this shirt on the bias may have been a better idea. But, you live and you learn, and maybe it will start to grow on me! I was happy though that I managed to get all my stripes matched!! *win*!
The Marino Top* is fairly easy to make, though I did run into a few issues with the instructions, which are easily remedied. I would suggest making a muslin for this pattern as there’s some hand drafting you’ll need to do.
The bodice pattern pieces are cut on the fold. Initially I didn’t think anything of this, but then when I started cutting out my muslin, I was like… wait… asymmetrical cannot be on the fold. I ended up tracing a second copy of the bodice, taping it to my original pattern piece and then I used my hip curve ruler to draft the new hemline. I think for mine, it ended up too high – I should have realized this when I made the muslin, but I didn’t! As a result, putting my arms up in the air shows off my midriff, so next time I would drop that side down a little more.

The patterns are drafted for 5’10”!! So, if you are tall, then huzzah! you might be adjustment free! I’m 5’8″ so I decided to leave the length as is, but found I needed to take 3 inches out of the sleeves.
Originally I graded the pattern from a 4 bust to 6 for waist and hip. There is a fair amount of ease in this design however so after making the muslin I decided to do a size 4 all over.

The instructions call for bias tape for finishing the woven version neckline however they don’t include information for the knit neckline, so I checked in with the designer (who is lovely by the way!) to find out what to do. After chatting with her, I cut a 1″ strip of the double brushed poly, measured the neckline (without seam allowances) directly from the pattern pieces, and cut a strip that was about 75% less than that length. I serged it onto the neckline however I suggest you use your sewing machine or chain stitch to attach it so it can sit better with less bulk. I was going to chain stitch it with my coverstitch, but it was fighting against me that day (the next day I changed the needle and it was happy again…). I do love the neckline though – facings are such a nice way to finish the necklines on womens’ tops.
DG Patterns* has quite a few eye catching designs and right now they’re all 50% off with code “FRESHSTART50” until Monday January 22, 2018, so go check them out!
**I received a complimentary copy of the Marino Top/Dress by DG Patterns in exchange for participating on this blog tour. Opinions are 100% my own.**
Be sure to visit the rest of the blog tour:
Monday: Sew Cucio, Flax Field Sewing, Fee Bricolo, mahlicadesigns, Sewjourns
Tuesday: Lilla Gumma, Create Whimsy, Frullemieke, Hutsepruts, A Custom Clothier
Wednesday: House of Estrela, FABulous Home Sewn, Spools + Oodles of Fun, Sprouting Jube Jube
Thursday: Very Blissful, Stitches by Laura, Auschick Sews, it’s Liesel
Friday: Kathy’s Kwilts and More, Stitched by Jennie, Sewsewilse, Our Play Place
Southern Belle Fabrics is generously sponsoring the Fresh Start Tour.
During the tour use code: DGBLOGTOUR to save 20% in the shop.
Discount code expires Jan 21st 2018 11:59PM CST
Southern Belle Fabrics is also offering a fabric giveaway.
Enter below to win a MFRB Mystery Box valued at $60+.
Giveaway includes shipping to US and Canada (up to $45 in free shipping)
A Rafflecopter Giveaway
Giveaway winner will be announced through social media on or about January 20th.

I’m loving this color on you!! Looks Great!
LikeLiked by 1 person
Thank you! I do enjoy wearing bright colors 🙂
LikeLike
Cute top and love the color of fabric, too. 🙂
LikeLiked by 1 person
I love this fabric! I am making the Marino Top & found your blog by doing a search. I have run into the same problem with the asymmetrical hem. I actually cut my good fabric though & have no idea how to fix this. Now my hem has a big V right in the middle of the top. I am very pattern dependant & have never modified a pattern. Can you explain in a bit more detail how you fixed the hem? Thank you so so much!
LikeLike
Oh no! Ugh it really makes me mad that she hasn’t fixed this pattern. So you’re going to have to freehand a new cut line. I would open it up so you have one layer. I would then do a curve from the center over to the point on the side where you want it to end, keeping in mind the hem allowance as well. I would make sure it’s about hip level (consider how it shows a bit of midriff if you raise your arms). I would not keep the same angle the whole way, otherwise it will end up too high up. Then, I would trace the same shape onto your back piece (either right sides together or wrong sides together so that the seams line up).
LikeLike